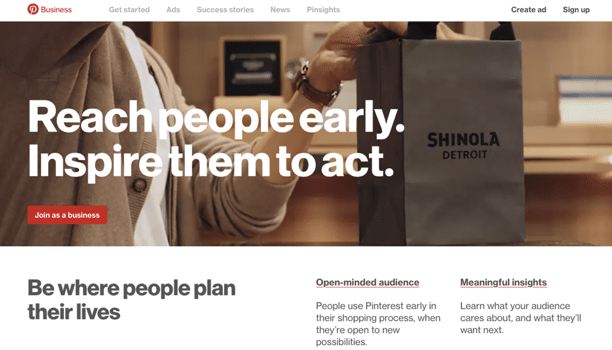
According to Pinterest data, 93% of pinners have used Pinterest to plan for, research, or make purchases and half of pinners have made a purchase after seeing a Promoted Pin. Though the network doesn’t boast quite as big of a following as Facebook or Instagram, its conversion metrics make it a highly valuable channel for retail and ecommerce. Because Pinterest users are actively searching for ideas, rather than passively scrolling through a feed, your opportunity to connect and convert is much stronger.
You’re here, which means you already see the value of marketing on Pinterest, but need some help getting started. You’ve come to the right place. This guide will walk you through the basics of creating a presence on Pinterest, including everything you need to know to set it up, build it out, and promote it.
How to Market on Pinterest
Setting it Up
As with Facebook and Instagram, you want to make sure you set up a Pinterest Business Account. If you’ve been operating a personal Pinterest account that you want to transfer over to a Business Account, you can do that during the sign-up process.

Make sure to complete your Profile. Use your logo for your picture, write a short and sweet description about your business, and include a link to your website.
Building it Out
Your Board
Once you’ve signed up, you need to create your first Board, which is a collection of Pins. Every board should have a theme or topic.
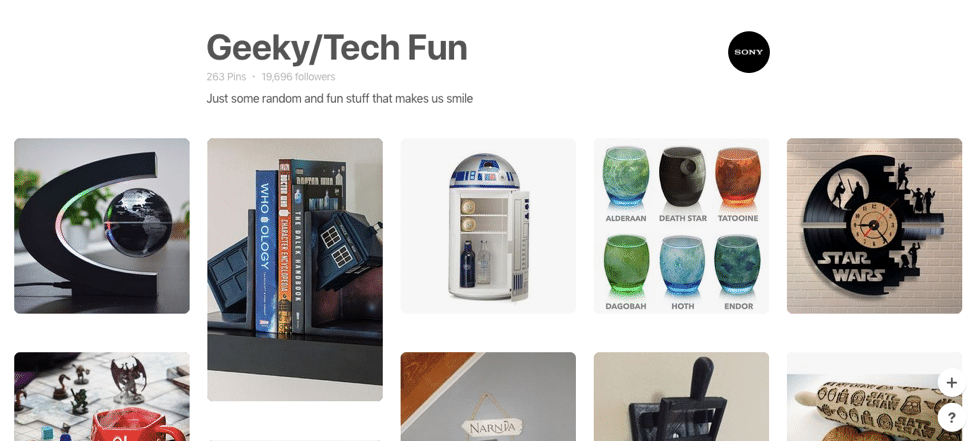
- Tip: Start by matching your board topics to your website categories. Then, think about other topics that your audiences are interested in. Are your customers foodies? Think about a food-related board. Or, if you’re Sony, create a “Geeky/Tech Fun” board for your technophile customers.

- Tip: Keep things fresh by adding new boards for seasons and special events.
Your Pins
Once you have your first Board topic set, start filling it up with pins. Pins are image-based bookmarks that you collect and that relate to the specific board topic. Each pin links back to the site where it came from. You can add pins by clicking the Add a Pin button on the Board you want to add it to, or by clicking the + button at the top of your feed. Tips for optimizing your pins:
- A good way to start is to repurpose images you already have. Check out this Pinterest blog post for more information on how to do that.
- Try a free layout tool like Canva to help you easily build graphics that look great and adhere to Pinterest’s specs.
- Make sure you fill out the description so followers don’t have to guess what the pin is about.
- Use hashtags to make your content more discoverable. Do a keyword search on Pinterest to identify pertinent and related hashtags.
- Check out Pinterest’s Pinsights for Business for lots of cool stats and insights to help you get the most from your account.
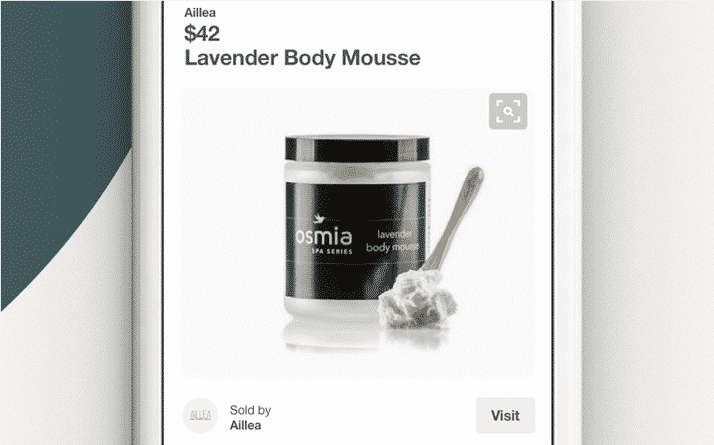
- Add Rich Pins to your account, specifically Product Pins. Product Pins allow you to include more information along with the pin, such as price, availability, and where to purchase.

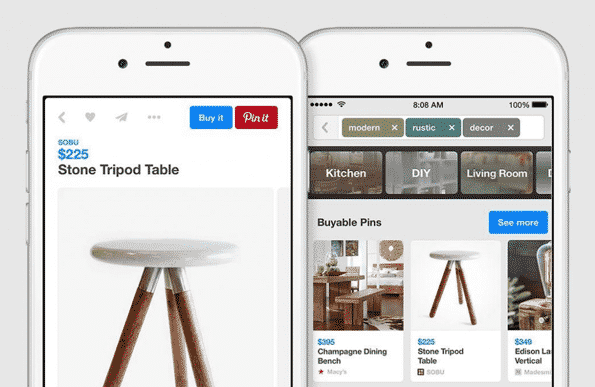
- Even better, add Shop the Look Pins, which lets people buy your products without even leaving Pinterest. Check with your ecommerce platform, as only some support this feature, including Shopify, BigCommerce, and Magento.

Promoting It
Ready to introduce your Pinterest account to the world? Follow these strategies to build your followers:
- Add the Pinterest icon to your site, with a link to your Pinterest account.
- Add the Save It button to your site so people can easily pin your content to their boards. NOTE: Social plugins are subject to GDPR. Obtain legal guidance before implementing any social buttons to ensure compliance.
- Find a group board in your niche and become a contributor. Check out Pingroupie for finding group boards.
- Engage with followers and respond to their comments on your pins. Comment on your followers’ pins, too.
- Follow influencers and other brands in your space, both to learn from their strategies and to make connections and partnerships.
Parting Thoughts
Managing Your Time
Keeping track of your content can get out of hand. To stay organized (and keep your sanity), put together an Editorial Calendar to plan at least a month’s worth of content ahead of time. Set goals for how often you want to post on Pinterest, then build out a spreadsheet detailing date, time, pin details, and anything else you might want to keep track of. If you search online for “social media editorial calendar”, you’ll find lots of tips and templates to try out.
You can also try a social media management platform, like HootSuite, to help you manage all of your posting, scheduling, and reporting from one place.
Measuring Everything
It goes without saying that you’ll want to measure the results of all your hard work. Pinterest has a reporting tool called Pinterest Analytics that will help with your analysis. You’ll want to track engagement (impressions, saves, and clicks) and if you’ve enabled the shopping features, sales. You’ll also want to dive into the pin details to see which ones performed well, so you can use a similar approach in future posts to maximize engagement.
You Got This
The biggest hurdle is getting started. Once you’re up and running, have fun with it! Experiment, test, think outside the box. Some things will fail, but many more will succeed. #winning


